Wednesday, October 31, 2012

My Entry to the Festival

image

I’ve got just a few minutes to get this posted and entered into the awesome online Blogger’s Quilt Festival.

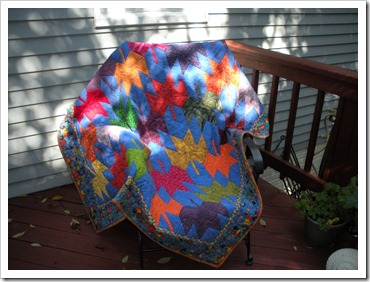
DSCN2545

It always takes me forever to decide which quilt to enter into these fun online quilt shows…

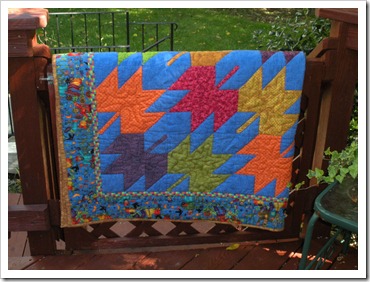
DSCN2543

But with fall in full swing here, I thought it should be autumnish!

DSCN2547

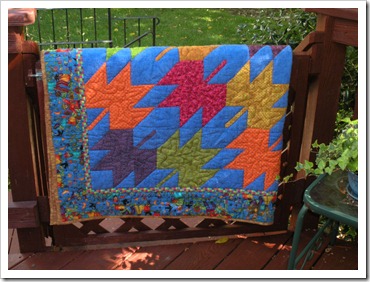
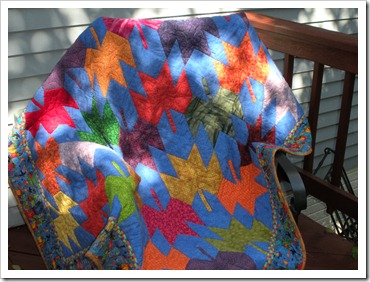
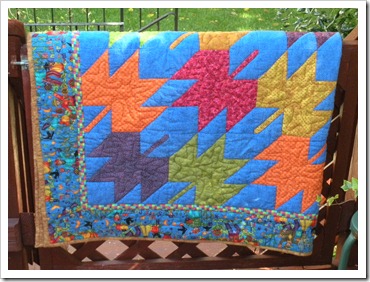
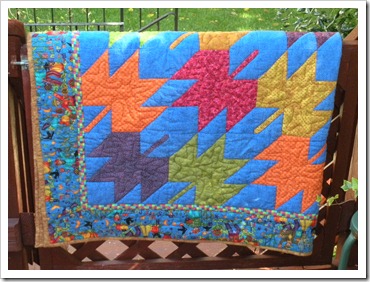
This was one of my first quilts! 

DSCN2542

I got the leaf block pattern from a friend, who also helped me miter the corners of the border!

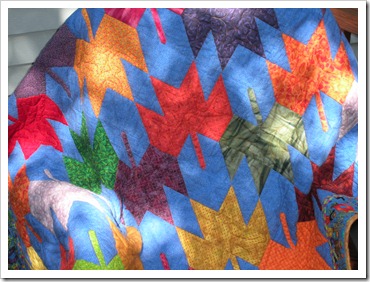
DSCN2546

This was pre-free motion quilting, so it is simply stitched in the ditch!

DSCN2544

At least this was post-“learning about a walking foot”!! (You should NOT see the backs of my pre- walking foot quilts!!  LOL!!  Pleats galore!!)

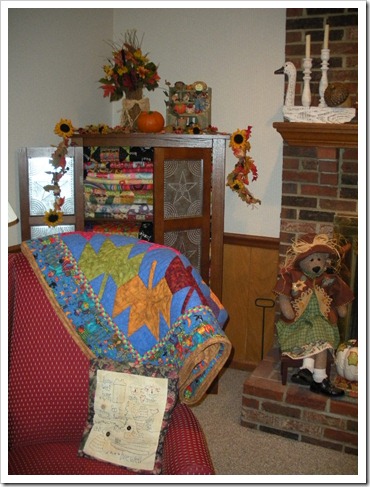
fam rm 5

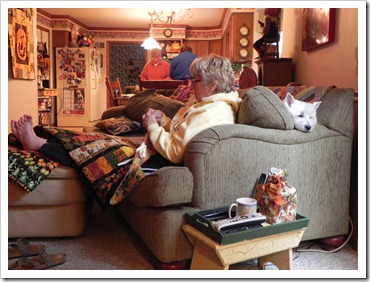
The backing is a soft buttery gold flannel…very toasty!!  So is often fought over on cold nights in front of the TV!!

DSCN2547

It was made in 2003 and is about

60” by 72”! 

image

Make sure you check out all the other wonderful quilts in the Festival!  They will really inspire you to get busy quilting!!

1signature

Monday, October 29, 2012

Hubble-icious!!

I never post twice on one day, but I fear with Hurricane Sandy arriving today, that our electricity will go out, and then I’ll miss getting my October Schnibble posted in time for the parade!

DSCN3258

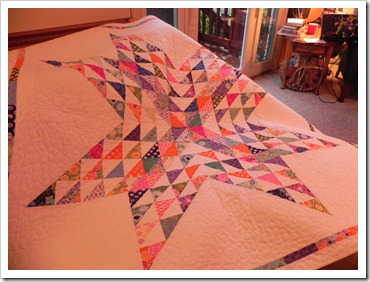
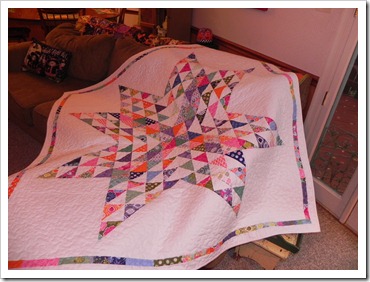
But, I did get my quilt made!

DSCN3249

And I LOVE it!

DSCN3250

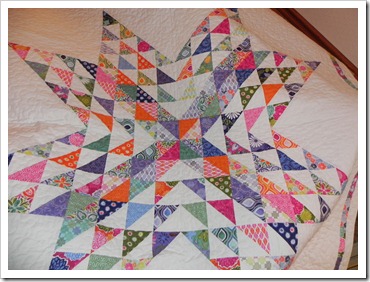
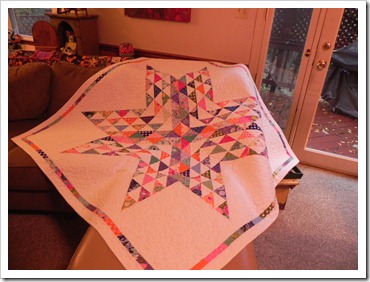
And although I’m not really one to use white for a background, I really do like it with this fabric collection and design!

DSCN3257

I used charm packs from Kate Spain’s Terrain collection.

DSCN3164

I did make my outer border a bit more narrow than Carrie’s pattern  directed.

DSCN3254

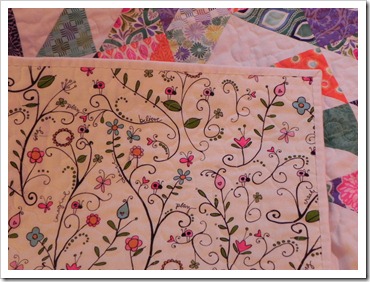
I use a fun print from my stash for the backing.

DSCN3251

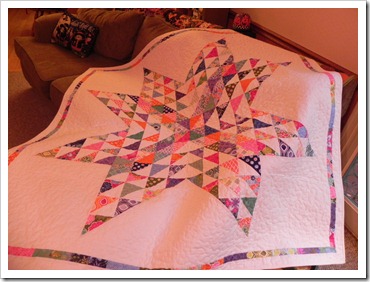
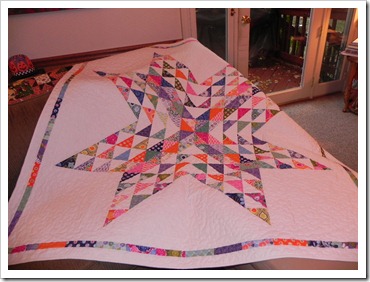
What a nice large lap quilt it made!

DSCN3252

MUCH bigger than our usual Schnibbles!!

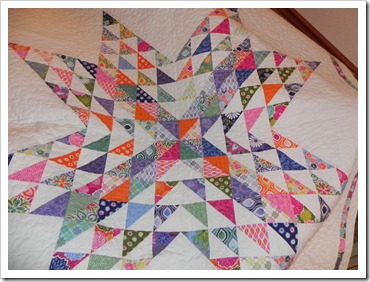
DSCN3255

And I named it “Hubble-icious”!!

DSCN3258

Well, I am trying to get some Christmas gifts made now and am using this cool technique from the Missouri Star Quilt Shop YouTube video to make some placemats and table runner using an older Christmas jelly roll I had in my stash!!  Check it out- so easy and fun!!

http://www.youtube.com/watch?v=L5Ixvjje310

Hope you are not in harms way with this monster storm!  Keeping my fingers crossed we all get out of this with minimal damage to life and property!  Say a prayer, OK?

1signature

October Doings

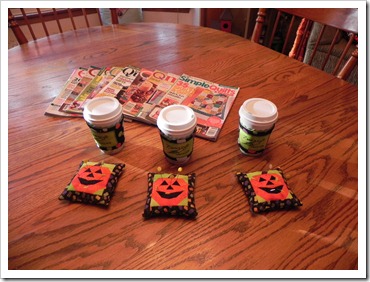
On Saturday, we had our monthly bee at my house.  I had my little bee gifts ready!

DSCN3242

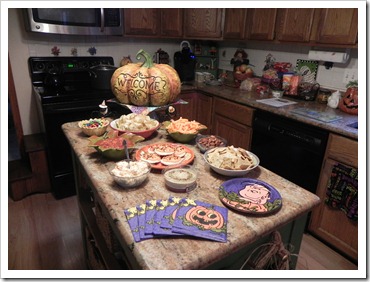
And the snack table ready!

DSCN3244

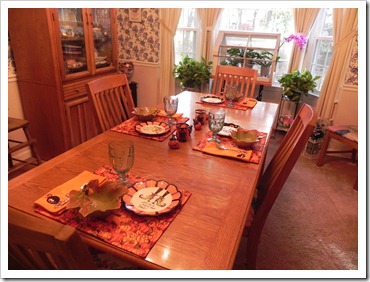
And the lunch table ready!

DSCN3246

Unfortunately, I was making fresh potato soup and grilled cheese sandwiches for lunch, so I spent lots of time in the kitchen and then forgot to take pix of us all spread out cutting out stuff and sewing down bindings!

(This pix below was from bee at my house last October!!)

DSCN1971

After bee was over at 4:00pm, my husband and I spend several hours removing all the furniture and plants from our deck due the imminent arrival of

hurricane Sandy!!  Then we spent a good deal of the next day doing the same with furniture, flags and plants from the front terrace,  trimmed some tree branches that were touching our gutters and removed the satellite dish from the roof so no more TV!!  Sad smile So, this is where I’ll be spending some time this morning

DSCN3260

answering emails, reading, watching the weather reports online and blogging.

DSCN3261

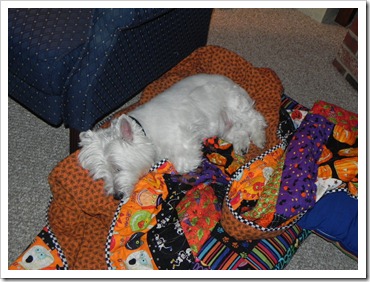
And Yogi is comfy in his bed with one of my Halloween quilts!!

DSCN3259

Right now outside it is steadily raining and a bit breezy but that’s about it.  When Sandy makes the left turn toward DC, we expect the weather conditions outside to worsen considerably!!

DSCN1799

All schools here are closed, most businesses, all government offices and agencies and the Metro (subway) system… so no one is going anywhere much!!  Our biggest worry is the electricity going out… so, say a little prayer for us, OK? I’ll be sewing some later if power stays on!! Smile

1signature

Thursday, October 25, 2012

A New Fall Purse

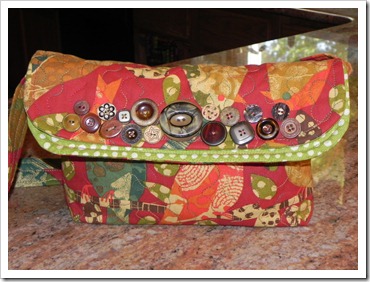
I had a cute decorator remnant fabric piece just ichin’ to become a purse for fall…  so I helped it out a bit!!  Smile

DSCN3170

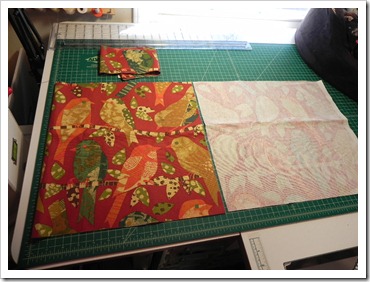
I cut two outside bag pieces

15” by 14”.
DSCN3171

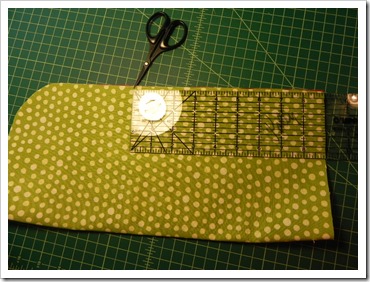
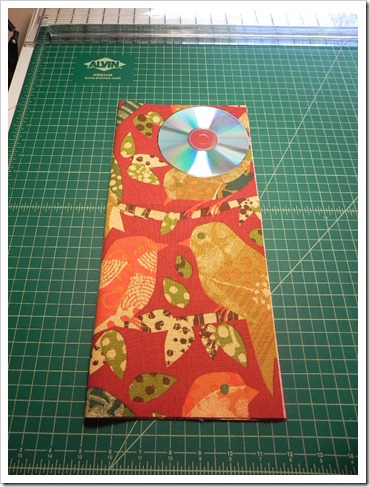
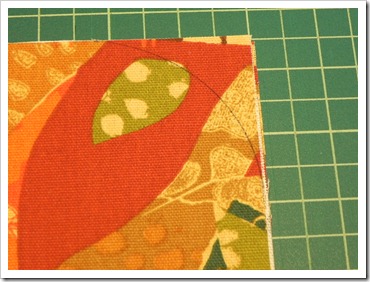
I traced around a CD to round the upper corners.
DSCN3172

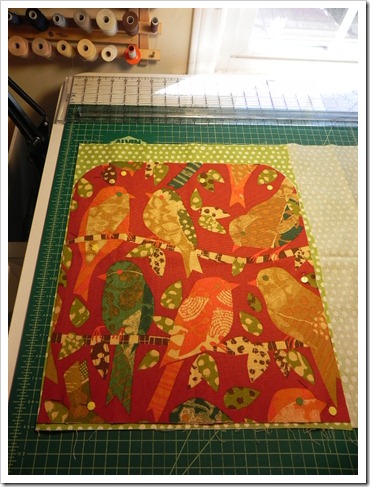
Then I cut on the lines, then laid the pieces on the lining fabric
DSCN3175

and cut two lining pieces out.

DSCN3177

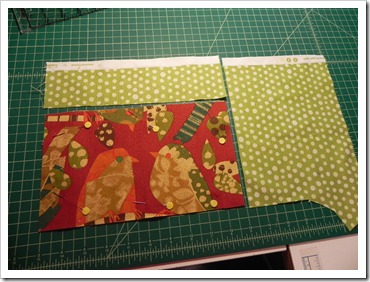
I measured 9” up from the bottom and made a little clip to mark where the top flaps will end the bag side will start.
DSCN3178

Then I used the leftover scraps from the outer bag and the lining to cut out a big pocket (6” X 10”) for one side and
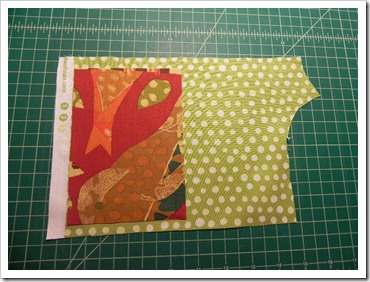
DSCN3179

a smaller cell pocket (4” X 6”) for the other side.
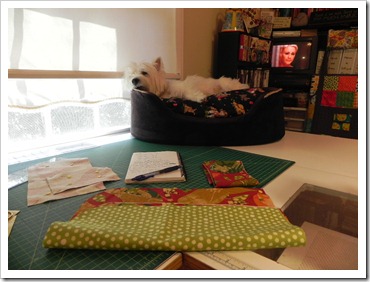
DSCN3181

Yogi was actively helping make all these design decisions…  in his dreams…
DSCN3184

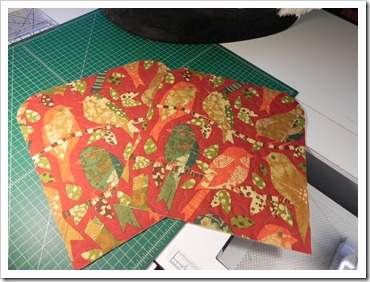
I sandwiched some batting between the outer and lining pieces and quilted the two sides with some awesome heavy variegated thread!
DSCN3187

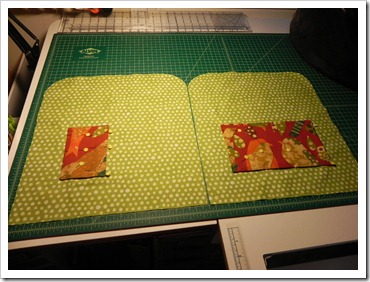
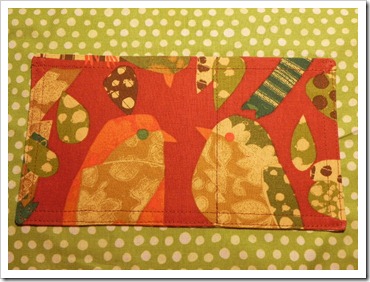
With right sides together, I sewed the each pocket to it’s lining and then turned them right sides out and top-stitched across the top of each, then pinned the bigger one to the lining side on one side and stitched all around the three sides then also stitched to subdivide it into 2 pockets.
DSCN3188

And sewed the cell pocket on the other side.

DSCN3189

Now, on to the strap!  I cut one 4” by 42” piece of outer bag fabric, and a piece of batting 1 1/2” wide by 42” long.

DSCN3190

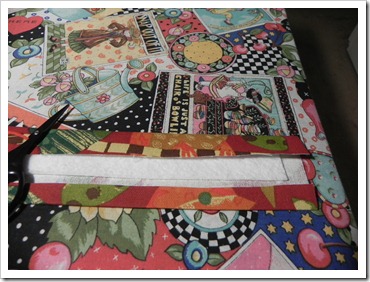
Press one long side under 1/2”, and the other long side under 1”.  Lay the batting strip down the middle next to the wider flap.
DSCN3191

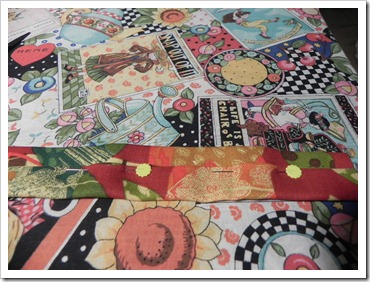
and fold the flap down over the batting…
DSCN3192

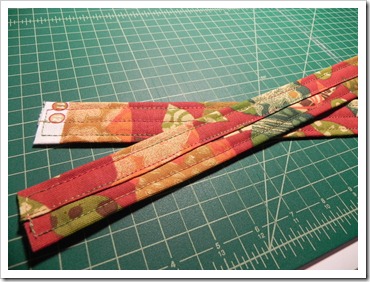
Then fold the other side over and pin it.
DSCN3194

Stitch down the pinned center edge, then down each long side.  Set aside for now.
DSCN3195

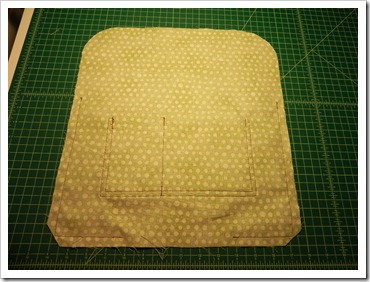
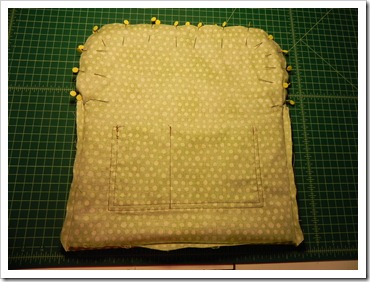
With right sides together on the outer bag pieces, sew from the clipped mark on one side and all the way around to the clipped mark on the other side.  Do the same with the two lining pieces, but remember to leave a 5” opening in the bottom seam for turning it later.
DSCN3196

Turn the outer bag right sides out and slip it into the lining bag, which should make them right sides together.  Pin around each top flap.

DSCN3198

Trim and clip around each flap seam.

DSCN3200

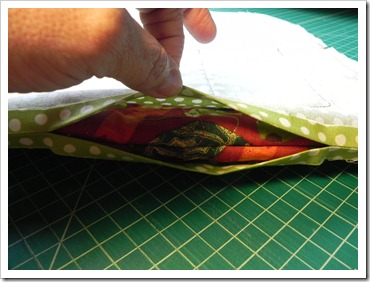
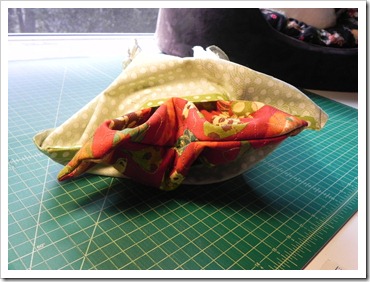
Now, carefully pull the outer bag body through the opening you left in the bottom of the lining.
DSCN3201

Then stitch that opening closed.

DSCN3202

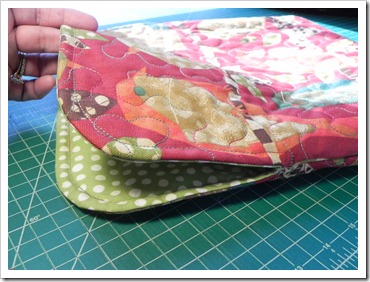
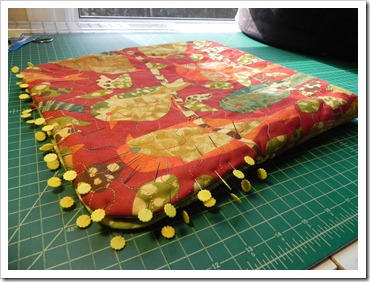
Push the lining down into the bag body.
DSCN3203

Pin all around the top flaps and

DSCN3205

topstitch around both flaps.

DSCN3206

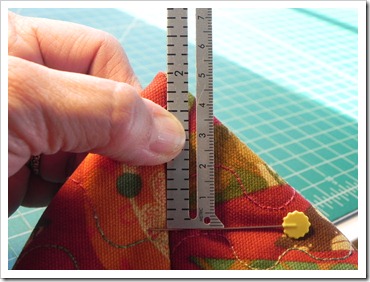
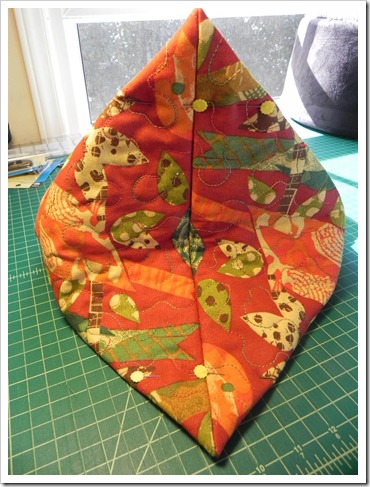
To box the corners, align one side seam with the bottom seam, then measure down 2”…
DSCN3207

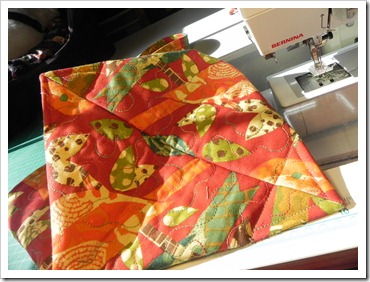
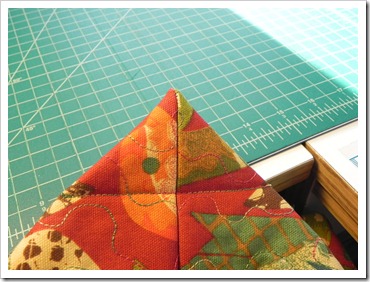
Stitch across that line on both corners.
DSCN3208

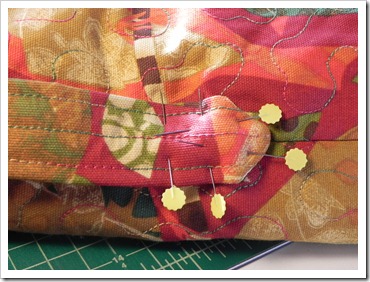
Then topstitch around the point.

DSCN3218

These points will be folded up on each side and a button will be sewn on each through the bag body to hold the points flat against each side.
DSCN3210

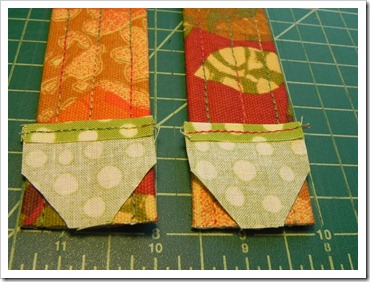
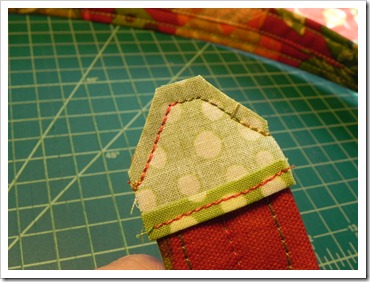
Back to the straps!  I used lining scraps to face each end of the strap- to make the ends pointed.
DSCN3211

I stitched the facings with right sides together
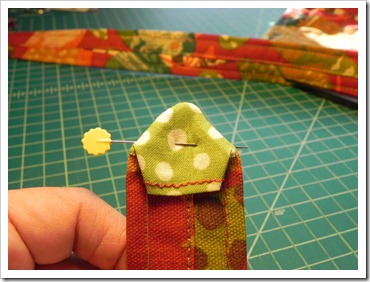
DSCN3212

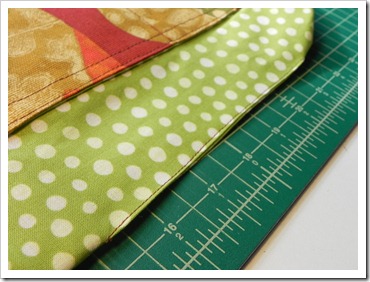
Then flipped the facing to the wrong side!
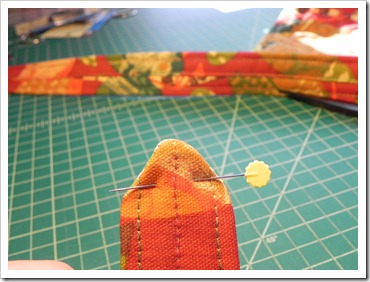
DSCN3213

Creating a point!  YAY!

DSCN3214

Pin the strap ends onto the sides of the bag just below the flaps.
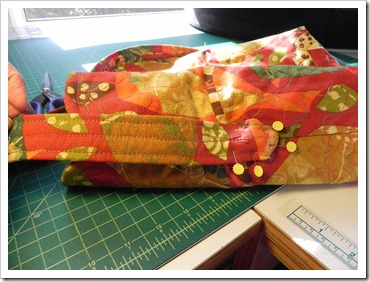
DSCN3215

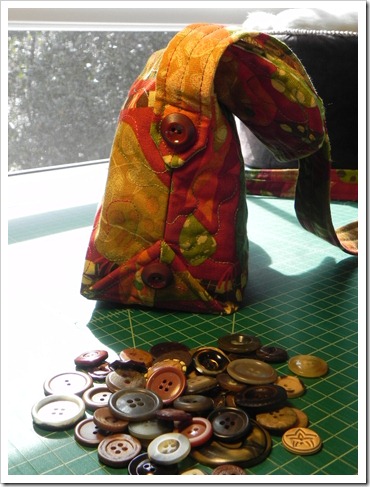
Carefully stitch through the bag at the strap ends.
DSCN3220

Get out your button box and sew a button onto each strap end and bag points at bottom.
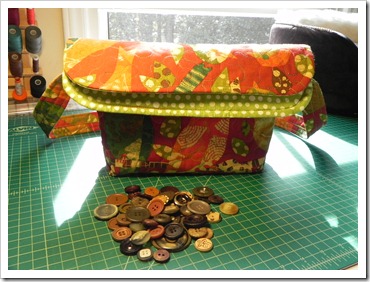
DSCN3221

Soooo…  I had this pile of cool buttons out…

DSCN3227

And Yogi was just brimming with excitement…
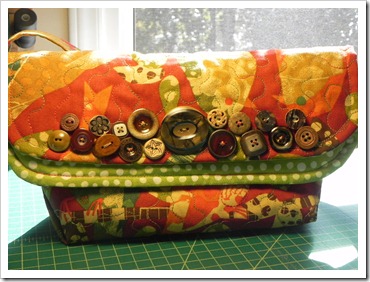
DSCN3228

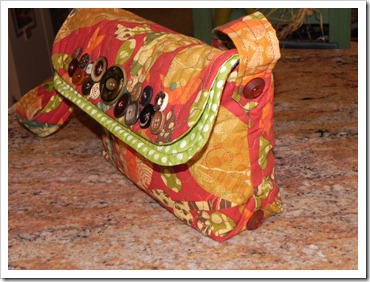
Soooo…. I sewed a few on one of the flaps… then a few more, and then a few more and then a few more!!  They are really cool buttons!!
DSCN3233

So, VOILA!!  New fall bag done!!

DSCN3232

Whatcha working on these days???
1signature